Building a pool in Coffee County, GA? Learn the actual gunite pool stages, permit requirements, and realistic timelines you need before breaking ground.
The pool construction process is the series of stages your backyard goes through to transform from grass to a functioning inground pool. It’s not one crew doing one job. It’s multiple teams handling excavation, steel reinforcement, plumbing, electrical, gunite application, curing, finishing, and final inspections.
Each stage builds on the last. Skip a step or rush through it, and you’re looking at structural problems down the road. Pool permit requirements in Georgia add another layer to the timeline, but they’re there to protect your investment and ensure everything meets safety codes.
In Coffee County, GA, most custom gunite pools take 8 to 12 weeks from permit approval to completion. That timeline can shift based on weather, inspection schedules, and how complex your design is. But the process itself follows a predictable sequence—and understanding that sequence helps you know what’s normal and what’s a red flag.
Excavation is where your pool project becomes real. Heavy machinery shows up, your yard gets marked with spray paint, and within a day or two, you’ve got a giant hole where your lawn used to be.
Before digging starts, we stake out the pool shape and confirm the layout matches your design. Fences or trees might need to be removed for equipment access. Your grass will take a hit where trucks and loaders travel from the street to your backyard.
Excavators dig the rough shape of your pool in just a few hours. The dirt usually gets hauled off-site, but if you want to keep it for grading other areas of your property, that’s an option that can save you money. The excavation crew digs slightly deeper and wider than the final pool dimensions to make room for steel, plumbing, and the gunite shell.
Problems can come up. Sometimes crews hit bedrock or encounter a high water table that starts filling the hole with groundwater. In Coffee County, GA, the soil is mostly clay, which can hold water and expand. That’s why we evaluate your site conditions before digging and adjust our approach based on what we find.
Once the hole is dug, it gets hand-shaped to smooth out the walls and floor. This prep work matters because it creates the foundation for everything that comes next. A poorly excavated hole leads to uneven gunite application and potential structural issues later.
Pool excavation typically takes one to two days. It’s loud, it’s messy, and it’s exciting. After this stage, your pool starts to look like an actual pool instead of a concept on paper.
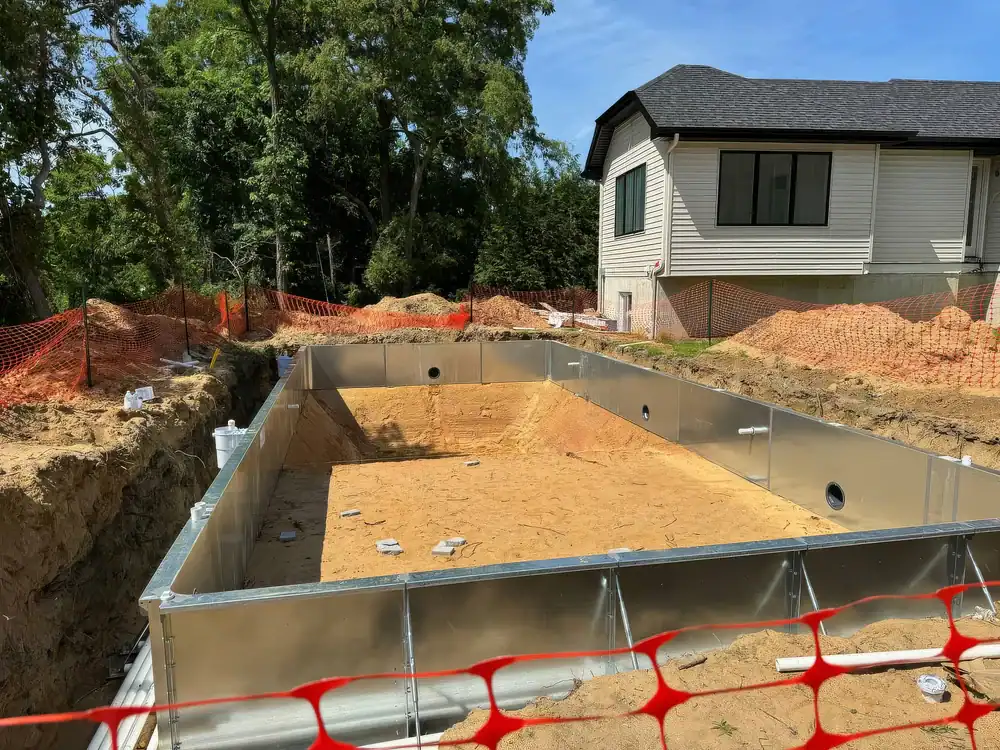
After excavation, the steel crew arrives to install rebar. Rebar is the steel reinforcement that acts as the skeleton of your pool. It’s what gives the gunite shell its structural strength and prevents cracking under pressure.
The rebar gets placed in a grid pattern across the floor and walls of the excavated hole, positioned about 2 to 4 inches away from the dirt. Crews bend and tie the steel by hand to match every curve, step, and corner of your custom design. The tighter and more precise the rebar cage, the stronger your pool shell will be.
While the steel crew works, plumbers install the underground plumbing lines. This includes the main drain, skimmers, return jets, and any additional features like spa lines or water features. Everything has to be positioned correctly before the gunite goes in because once the concrete is sprayed, you can’t easily access these lines again.
Electricians may also be on-site during this stage. They connect bonding wires to the pool shell and hang light niches into the walls. All of this prep work happens before the gunite crew shows up.
This phase usually takes one to three days depending on the complexity of your pool design . A simple rectangular pool goes faster. A freeform shape with a spa, multiple benches, and a vanishing edge takes longer.
Inspections happen after the steel and plumbing are in place. Your local building department will send an inspector to verify everything meets code before the gunite application can begin. Waiting for that inspection can add a day or two to your timeline, but it’s a required step that ensures your pool is being built correctly.
The rebar and plumbing stage is one of the most important parts of the pool construction process. If the steel isn’t installed right or the plumbing isn’t positioned correctly, you’ll have problems that are expensive and difficult to fix later. This is where experience and attention to detail make a huge difference.
Want live answers?
Connect with a Deep Waters Pools expert for fast, friendly support.
Gunite application is when your pool finally starts to look like a pool. This is the stage where concrete gets sprayed over the rebar cage to form the shell.
Gunite is a dry mix of cement and sand that gets shot through a hose using compressed air. Water is added at the nozzle, and the nozzleman controls the water-to-cement ratio in real time. This gives us more control over consistency and allows us to stop and start without creating weak spots in the concrete.
The gunite crew sprays layers of concrete onto the rebar, building up the walls and floor to the specified thickness—usually around 8 to 12 inches. Skilled workers then hand-trowel and shape the wet gunite to form steps, benches, and smooth transitions. It’s loud, dusty, and messy, but it’s also one of the most critical days of your entire project.

Once the gunite is applied, it has to cure. Curing is the process where the concrete hardens and reaches its full strength. You can’t rush this.
Gunite needs to be kept moist during the curing process to prevent it from drying out too quickly, which can cause cracking. You’ll need to spray the pool shell with water several times a day for the first few days. We handle this in many cases, but sometimes it’s the homeowner’s responsibility.
The curing period lasts 28 days—four weeks where your pool shell just sits there hardening. You can’t apply plaster or tile until the gunite has fully cured. This waiting period frustrates homeowners, but it’s necessary for long-term strength and durability.
During those 28 days, other work can happen. Decking can be poured. Equipment can be installed. Fencing can go up. But the interior of the pool has to wait.
If the gunite isn’t cured properly, you risk a weaker shell that’s more prone to cracking and leaking. We build this time into our schedules and don’t try to shortcut the process. Georgia’s weather can affect curing times too. High heat causes the gunite to dry too fast. Heavy rain can interfere with the process.
This stage requires patience. When it’s done right, you end up with a pool shell that can last 50 to 100 years with proper maintenance.
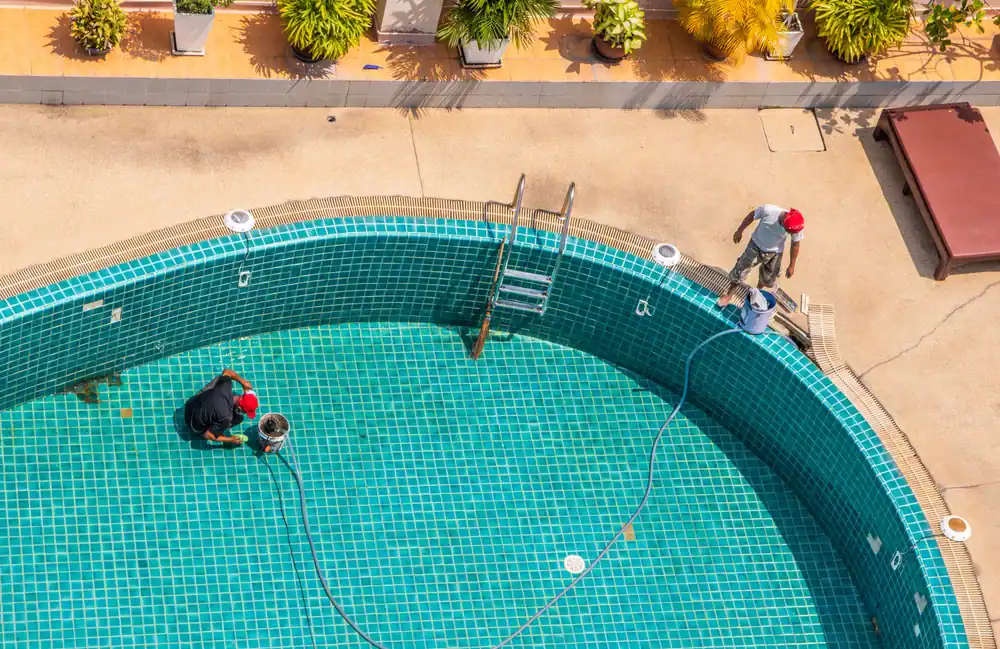
Once the 28-day curing period is complete, the finishing work begins. This is when your pool goes from a rough concrete shell to something that actually looks and feels like a pool.
Tile and coping get installed first. Coping is the cap that goes around the edge of the pool, usually made of stone, brick, or precast concrete. Tile gets installed along the waterline, serving both a functional and aesthetic purpose. The tile protects the pool shell and makes it easier to clean the waterline.
After tile and coping, the pool deck gets poured or installed. You’ve got options—poured concrete, pavers, stamped concrete, or natural stone. The deck needs to slope slightly away from the pool to prevent water from pooling near the edge.
Next comes the interior finish. Most pools get plastered, which creates a smooth, waterproof surface. You can choose from standard white plaster, colored plaster, or aggregate finishes that include pebbles or glass beads. This finish is what you’ll see and feel when you’re in the pool, so it’s worth taking time to pick something you like.
While the finishing work happens, the equipment gets installed and connected. This includes your pump, filter, heater if you’re adding one, and any automation systems. Electricians complete the final wiring. Plumbers connect all the lines.
The final inspection happens once everything is installed. Your local building department will verify that the pool meets all code requirements, including the safety barrier around the pool. In Georgia, you need a fence or barrier at least 48 inches tall with a self-closing, self-latching gate.
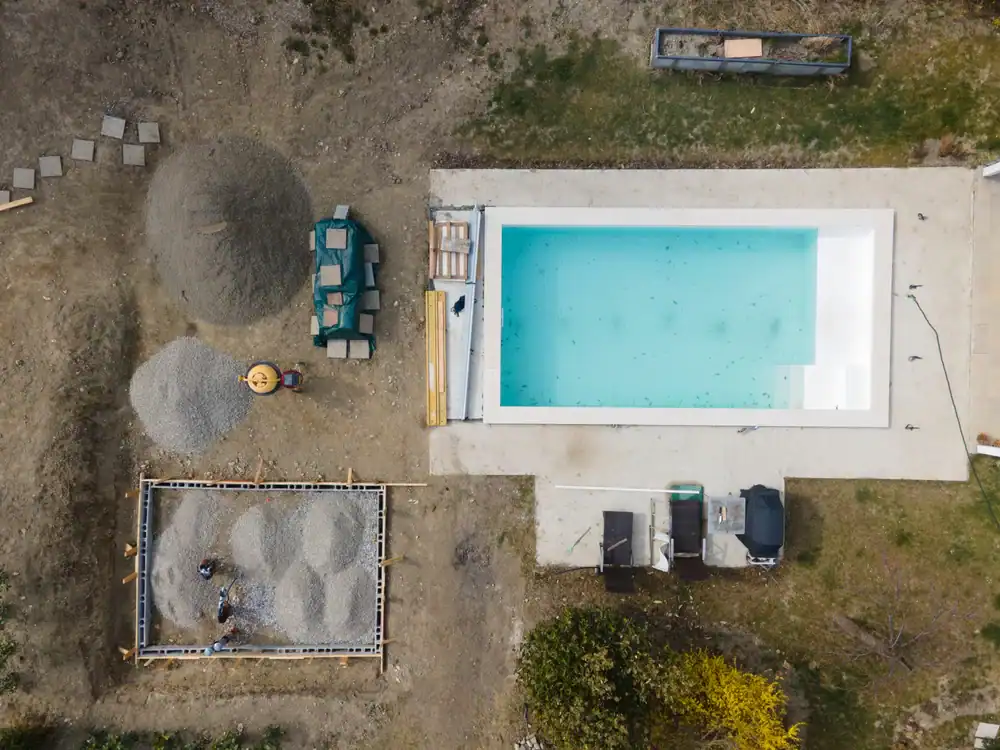
Once you pass final inspection, you can fill the pool. The startup process includes balancing the water chemistry and making sure all the equipment runs correctly. After that, you’re ready for your first swim.
Building a pool takes longer than most people expect, but understanding the process helps you plan better and avoid frustration. From excavation to gunite application to the 28-day curing period, each stage has a purpose and a timeline that can’t be rushed.
In Coffee County, GA, the pool construction process typically takes 8 to 12 weeks once permits are approved. Add in design time and permitting, and you’re looking at several months from start to finish. Weather, inspections, and site conditions can all affect that timeline.
The key is working with a builder who knows the local soil, understands Georgia’s permit requirements, and has the experience to handle the unexpected. If you’re ready to move forward with a custom gunite pool , we can walk you through every stage of the process and help you set realistic expectations for your project.
Summary:
Share: